We had a beautiful Bridal Shower for my Best friend in February, but it seemed that no one had wrapped her presents with bows. She received lots of bags and cards. So i had no way of making her a ribbon bouquet for the rehearsal!!! I did some digging around online, and there are so many options of what to make the bouquet out of from tissue paper to gumballs. I found one that required coffee filters, I just really like the way the flowers turned out, and hey I had a ton of coffee filters!!!
The supplies needed are:
- coffee filter
- water
- acrylic paint
- straws
- green tape electrical or masking
- blow dryer
- ribbon
- pearl pins
 |
| All the supplies you need |
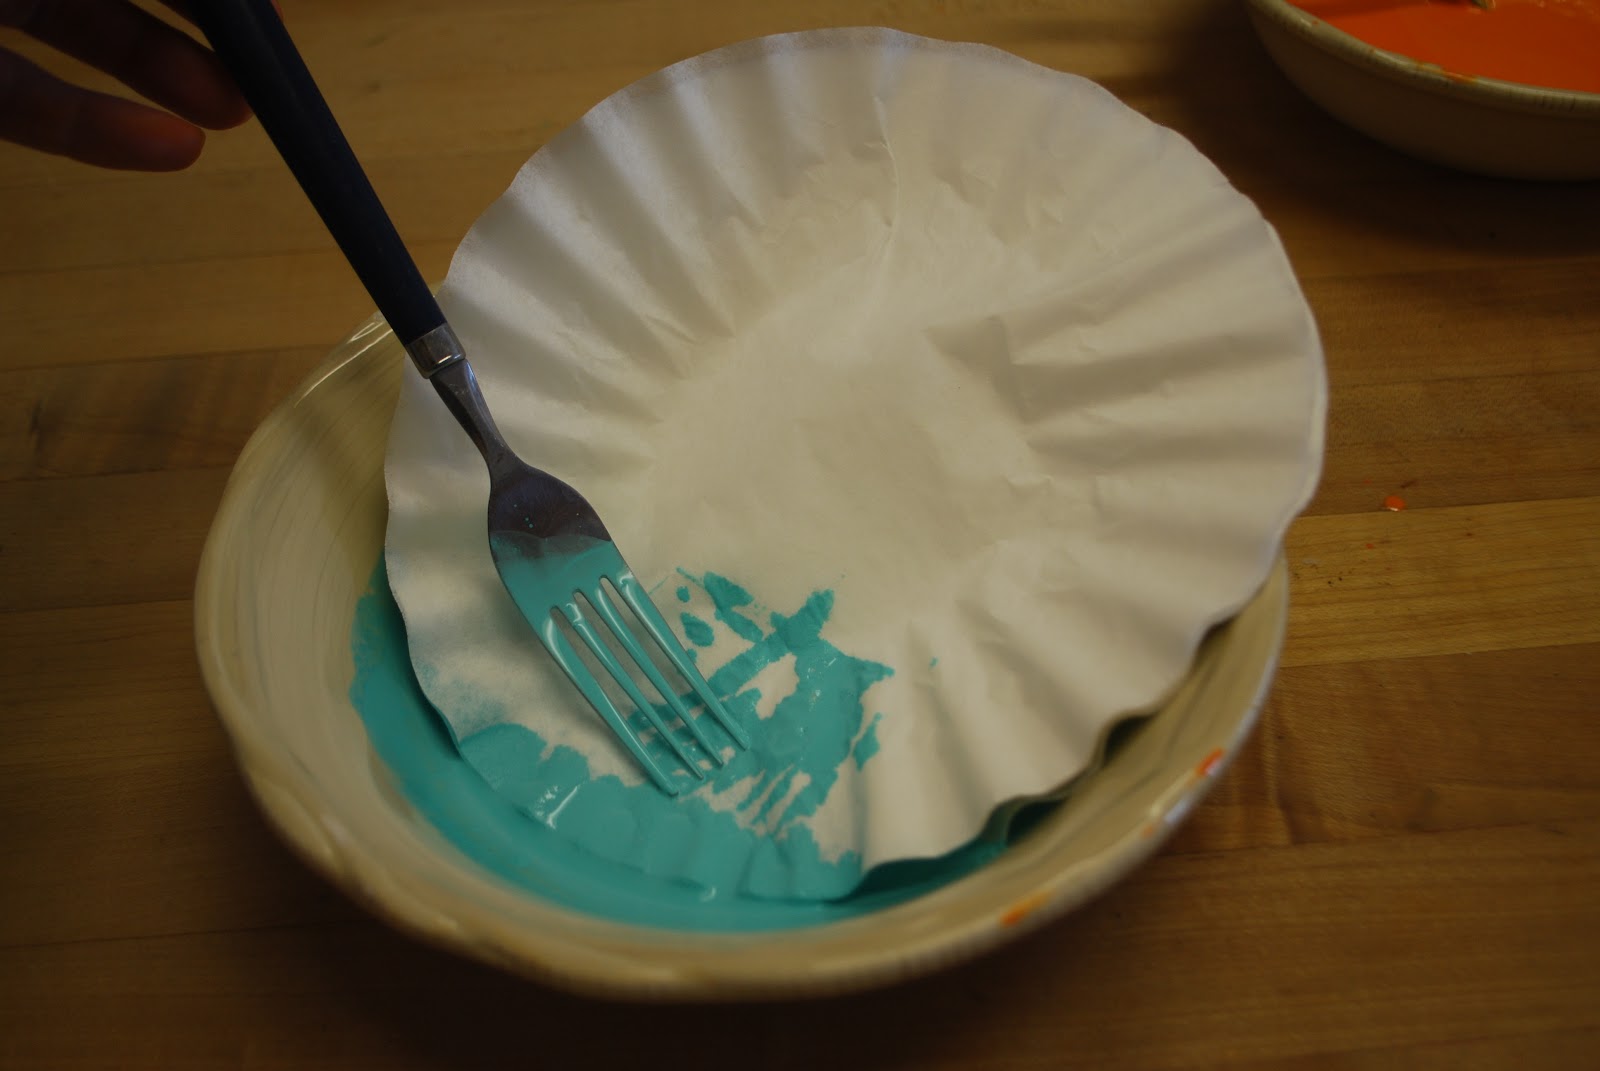
I had originally thought maybe I could use dowels since I had a lot of them, but the straws add the flexibility you need. To start off you put pain in your bowl, and add water, you want the constancy to be that of milk. then you can soak 20 filters at a time in the dye. Make sure it is all soaked through, you will want to wring it out over the bowl or sink. if you would like a lighter tone you can rinse it out under running water, but I like the bolder darker colors so I only rung it out and separated them all on a towel to air dry while I started on my next color. When both of them were dyed I used my hair dryer to speed the process up a bit.
 |
| Add paint |
 |
| Then water to the consistency of milk |
 |
| Soak up the paint with up to 20 filters at a time |
 |
| Separate them the best you can |
Thank goodness my husband came home to help me we had a bit of a system going on. I dried, while he cut and started on the flowers. When they were all dry we had a new system, i would cut and apply the filters to the tape and he would make the flowers.
So after drying you will want to cut a spiral into each of the filters.
 |
| Spiral cut |
The you will pull out a strip of tape, and begin applying, I started with the inside of the spiral and we bunched up and folded the filter as we went along. We found it made the flower more full and looked a lot prettier in the end. In my photos you see we did not put the tape all the way down the straws, I suggest doing that on yours, I just really liked the bright pink straws I had found. But the tape adds that extra strength to the straws.
 |
| Add the filter to the tape |
 |
| top view |
 |
| Side view |
 |
| You want to bunch up and fold the filter as you apply |
 |
| After photo |
 |
| Our pretty pink straws, we taped them together to hole their place while we apply the ribbon, also remember you will want to tape the entire straw to reinforce them to make them stronger. |
After you have made all your flowers, its time to arrange, cut the straws at the bottom to make them all flush with each other, and add your ribbon. We wrapped the ribbon around the straws till you were not able to see them anymore. Then we started at the top with our pear pins to hold the end of ribbon in place, and added them all the way down in a straight line to add extra elegance, and to hold all the ribbon in place. In the end you have a beautiful bouquet for your bride to use during her rehearsal.
 |
| Putting pins in |
 |
| Finished Bouquet |
 |
| Top of the finished |


No comments:
Post a Comment